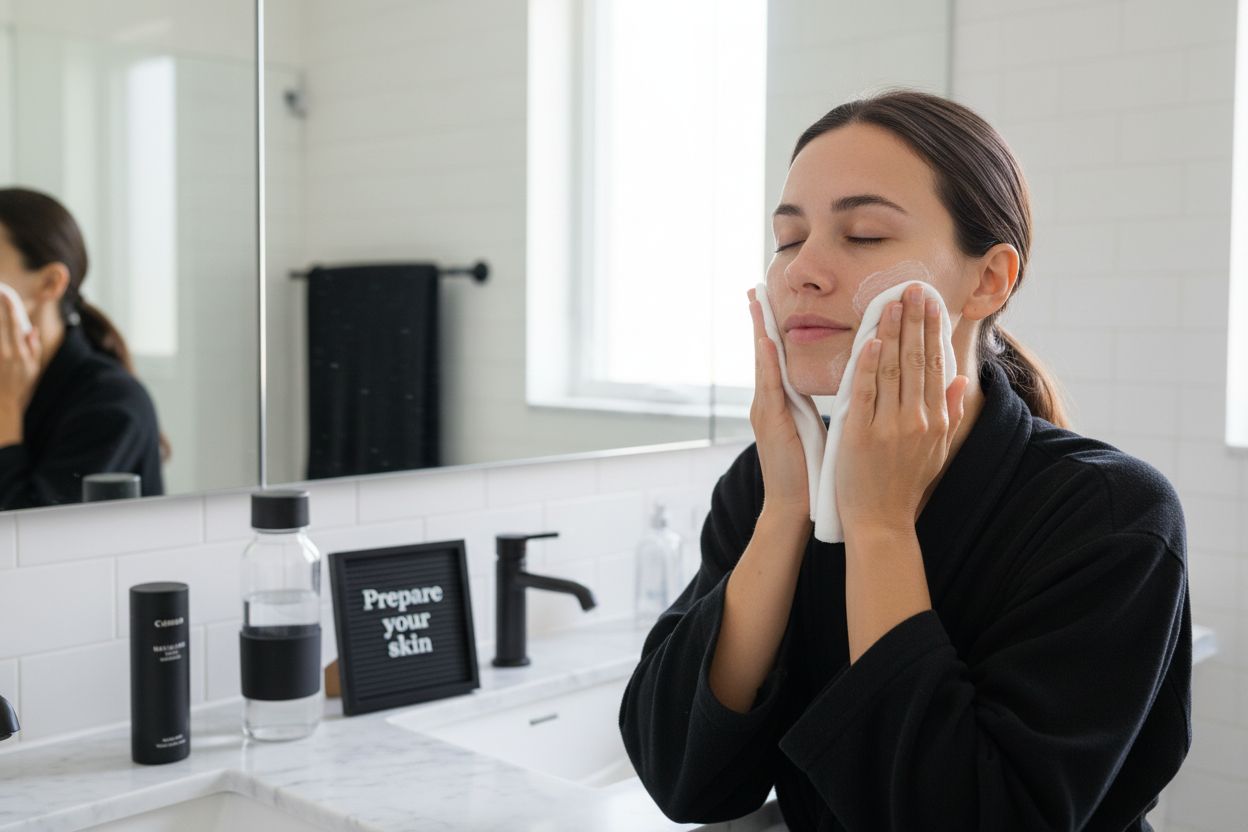
Learn how to recover after fillers naturally with our clear step-by-step process to ensure optimal results and a smooth recovery.
Ready to recover beautifully after your dermal filler treatment? Most people do not realise that up to 72 percent of post-filler complications are linked to inadequate aftercare or skin preparation. It sounds startling, especially since the focus is usually on the procedure itself. Yet what truly shapes your results are the small, proactive steps you take before and after your appointment that most people overlook.
Table of Contents
- Step 1: Prepare Your Skin Before Treatment
- Step 2: Follow Aftercare Instructions Diligently
- Step 3: Manage Swelling and Bruising Effectively
- Step 4: Hydrate and Nourish Your Skin Post-Treatment
- Step 5: Monitor Your Healing Process Closely
Quick Summary
| Key Point | Explanation |
|---|---|
| 1. Hydrate before and after treatment | Increase water intake to support healing and maintain results, aiming for at least two litres daily. |
| 2. Follow aftercare instructions closely | Adhere strictly to your practitioner’s guidelines to ensure proper healing and avoid complications. |
| 3. Manage swelling and bruising effectively | Use cool compresses and avoid direct ice contact to alleviate swelling in the first 48 hours. |
| 4. Select gentle skincare products | Use only non-irritating, lightweight moisturizers recommended by your practitioner to support recovery. |
| 5. Monitor your healing process diligently | Track changes in your skin daily, noting any unusual symptoms that may require professional attention. |
Step 1: Prepare your skin before treatment
Successful filler recovery begins long before you enter the clinic. Proper skin preparation is a critical foundation that can significantly influence your treatment outcomes and healing process. Your skin needs strategic care and attention to create the optimal environment for receiving dermal fillers and minimizing potential complications.
Preparing your skin requires a thoughtful approach that addresses both external and internal factors. Start by evaluating your current skincare routine and making strategic adjustments in the weeks leading up to your treatment. Hydration becomes paramount. Increase your water intake and focus on moisturising products that strengthen your skin barrier. Avoid harsh exfoliants or aggressive skincare treatments at least one week prior to your appointment, as these can increase skin sensitivity and potentially compromise your healing process.
In the days immediately preceding your treatment, you’ll want to implement a gentle yet targeted skincare strategy. Learn more about personalizing your pre-treatment skincare routine to ensure your skin is in its optimal state. This means selecting lightweight, non-irritating products that support skin health without causing inflammation. The NHS recommends avoiding certain medications and supplements that could increase bruising risk, including:
- Blood thinning medications
- Anti-inflammatory drugs
- Vitamin E supplements
- Fish oil capsules
- Alcohol consumption
On the day of your treatment, arrive with completely clean skin. Remove all makeup, avoid wearing skincare products, and ensure your face is free from oils, dirt, or residual cosmetics. This preparation reduces infection risks and provides a pristine canvas for your aesthetic professional. Your practitioner will conduct a thorough cleansing, but arriving with a fresh, makeup-free face demonstrates your commitment to a successful treatment.
By meticulously preparing your skin, you’re not just getting ready for a procedure you’re setting the stage for optimal healing and stunning, natural-looking results. Each careful step you take beforehand contributes to a smoother recovery and more satisfying aesthetic outcome.
Step 2: Follow aftercare instructions diligently
Successful filler recovery hinges entirely on your commitment to following aftercare instructions with precision and care. These instructions are not mere suggestions but critical guidelines designed to protect your investment and ensure optimal healing. Your aesthetic professional will provide a comprehensive set of recommendations tailored specifically to your treatment, and adherence is paramount to achieving the desired results.
Immediate post-treatment care requires exceptional attention. Within the first 24 to 48 hours, your treated areas are most vulnerable and sensitive. You must resist the temptation to touch, massage, or manipulate the injection sites, as this could disrupt the filler’s placement or introduce potential infections. Explore our comprehensive guide to aesthetic skin treatments for deeper insights into professional aftercare protocols.
According to NHS guidelines, specific aftercare protocols are crucial to minimize complications. Your practitioner will likely recommend avoiding several key activities that could compromise your healing:
- Strenuous exercise or physical activity
- Extreme temperatures (saunas, hot yoga, intense cold)
- Direct sun exposure
- Alcohol consumption
- Makeup application
Hydration and gentle skincare become your primary focus during recovery. Use only recommended products that support healing and avoid anything that might irritate the treated areas. Cool compresses can help manage initial swelling, but apply them delicately and only as instructed by your aesthetic professional. Temperature regulation is key during the first few days, so maintain a moderate environment and avoid sudden temperature changes that might stress your healing skin.
Pay close attention to how your skin responds in the days following treatment. Minor bruising, slight swelling, and temporary tenderness are normal and expected. However, any significant pain, unusual discoloration, or signs of infection should prompt immediate communication with your practitioner. Document your recovery process with gentle photographs if recommended, which can help track your healing progress and provide valuable information during follow-up consultations.
Below is a checklist of essential actions and precautions to follow after receiving dermal fillers, designed to help ensure a safe and smooth recovery.
| Action/Precaution | Purpose | Timing/Notes |
|---|---|---|
| Avoid touching or massaging treated area | Prevent displacement/infection | First 24-48 hours; unless instructed otherwise |
| Avoid strenuous exercise | Reduce swelling and bruising risk | 24-48 hours post-treatment |
| Steer clear of extreme temperatures | Protect sensitive tissue and minimise risk | No saunas, hot yoga, or intense cold for 48 hours |
| Avoid direct sun exposure | Prevent hyperpigmentation and irritation | First week post-treatment |
| Do not consume alcohol | Reduce swelling and bruising | At least 24 hours after treatment |
| Use only recommended skincare products | Support healing without irritation | Use gentle, fragrance-free moisturisers |
| Apply cool compresses (if needed) | Alleviate swelling and discomfort | Gently, in intervals, as directed |
| Monitor for signs of complications | Early detection of infection or adverse effects | Daily for the first week, then as needed |
Remember, diligent aftercare is not just about following rules it is about protecting the artistry and precision of your aesthetic treatment.
Each careful action you take contributes to achieving the natural, refined results you desire.
Step 3: Manage swelling and bruising effectively
Swelling and bruising are natural responses your body experiences after dermal filler treatments. Understanding how to manage these temporary side effects can significantly enhance your recovery experience and maintain your comfort during the healing process. Anticipation and preparation are key to navigating this stage with confidence and minimal disruption to your daily routine.
Learn more about personalized skincare approaches that can support your healing journey. The first 48 hours are crucial in managing post-treatment inflammation. Cool compresses become your primary tool for reducing swelling and providing immediate relief. Use a clean, soft cloth wrapped around a cold pack, applying it gently to the treated areas for short intervals. Avoid direct ice contact with your skin, as this can cause additional tissue damage.
According to NHS recommendations, managing post-treatment symptoms requires a strategic approach. Your recovery toolkit should include several essential items:
- Arnica cream or tablets (natural bruise reduction)
- Gentle, fragrance-free cold compresses
- Soft, clean towels
- Approved healing moisturizers
- Comfortable loose clothing
Nutrition plays a surprisingly significant role in recovery. Increase your intake of foods rich in vitamin K and bromelain, which can help reduce bruising and inflammation. Pineapple, leafy greens, and lean proteins support your body’s natural healing mechanisms. Hydration remains critical during this stage, so continue drinking water and avoid alcohol, which can exacerbate swelling and slow healing.
Monitoring your body’s response is crucial. While some swelling and bruising are normal, certain symptoms require immediate professional attention. Unusual pain, significant discoloration, or signs of infection should prompt quick communication with your aesthetic professional. Take photographs of the treated areas if recommended, creating a visual record that can help track your healing progress and provide valuable information during follow-up consultations.
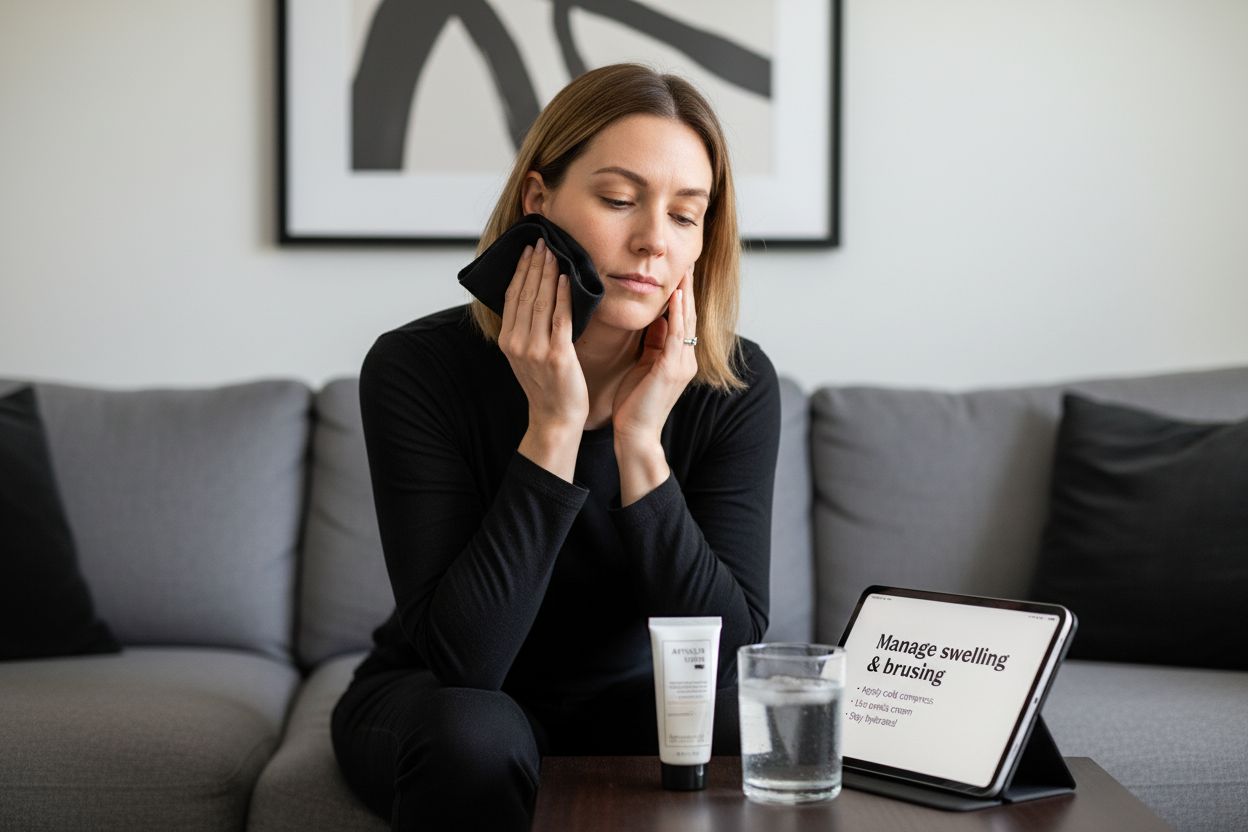
Remember that everyone’s healing process is unique. Some individuals experience minimal bruising, while others might have more noticeable symptoms. Patience and gentle self-care are your most important allies during this recovery phase. By following these strategic management techniques, you’ll support your body’s natural healing process and maintain the beautiful, refined results of your aesthetic treatment.
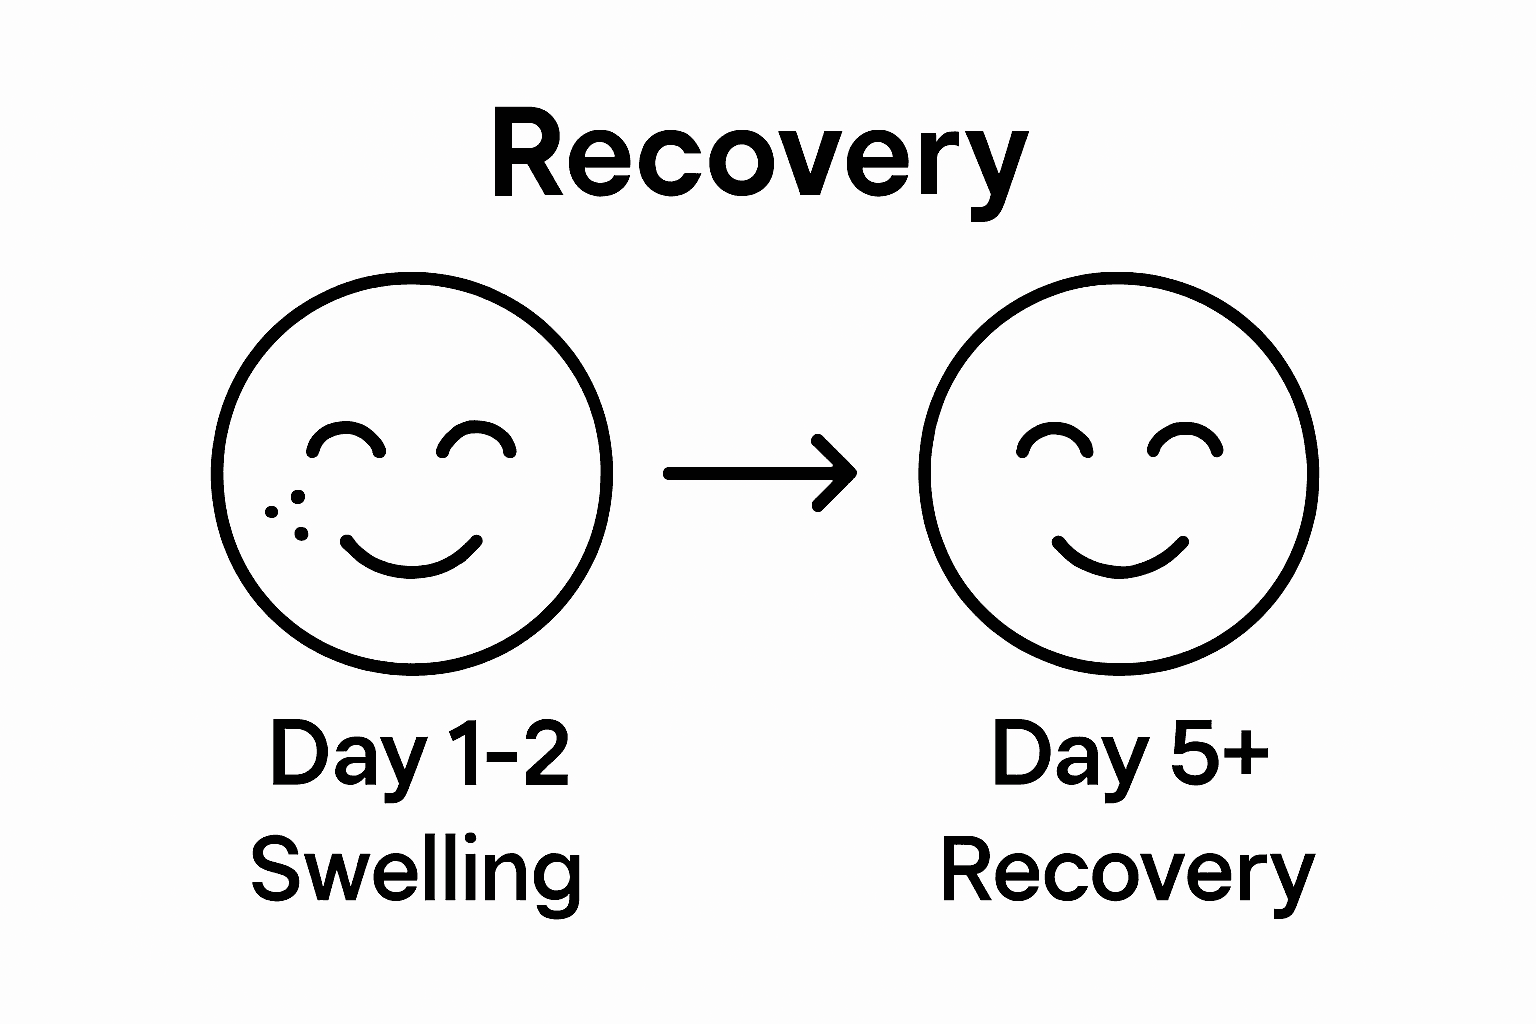
Step 4: Hydrate and nourish your skin post-treatment
Proper hydration and nutrition are the cornerstone of an effective recovery process after dermal filler treatments. Your skin requires strategic care and targeted nourishment to support healing, maintain treatment results, and restore its natural radiance. This step is about providing your skin with the essential elements it needs to recover and thrive.
Internal hydration becomes your primary focus. Water intake plays a crucial role in supporting your body’s healing mechanisms and maintaining the longevity of your filler results. Aim to consume at least two litres of water daily, focusing on pure, room-temperature water that supports cellular regeneration. Discover more about optimizing your skincare routine to complement your hydration strategy.
Topical hydration requires an equally thoughtful approach. Select lightweight, non-comedogenic moisturizers recommended by your aesthetic professional. These products should be free from harsh chemicals, fragrances, and potential irritants that could compromise your healing process. Gentle, fragrance-free formulations are key to supporting your skin’s recovery without causing additional stress.
Nutritional support extends beyond simple hydration. Your diet plays a significant role in skin healing and recovery. According to research on aesthetic treatments, incorporating specific nutrients can accelerate healing and support optimal skin health. Consider integrating the following nutritional powerhouses into your diet:
- Omega-3 rich foods (salmon, chia seeds)
- Vitamin C packed fruits and vegetables
- Lean proteins for tissue repair
- Antioxidant-rich berries
- Zinc-containing foods like nuts and seeds
Skin nourishment also involves protecting your newly treated areas from environmental stressors. Avoid direct sunlight and use a high-quality, broad-spectrum sunscreen recommended by your practitioner. The sun can cause pigmentation changes and potentially compromise your filler results, so protection is paramount.
Monitor your skin’s response carefully during this recovery phase. Look for signs of proper healing: reduced swelling, even skin texture, and a gradual return to your skin’s natural appearance. Gentle self-observation is key. If you notice any unusual changes or have concerns, contact your aesthetic professional promptly. Remember, each person’s healing journey is unique, and patience combined with attentive care will help you achieve the most beautiful, natural-looking results from your dermal filler treatment.
Step 5: Monitor your healing process closely
The recovery journey after dermal fillers is a nuanced process that requires careful, attentive observation. Monitoring your healing process is not just recommended it is essential for ensuring optimal results and identifying any potential complications early. Your body’s response to treatment is unique, and understanding the subtle changes occurring during recovery will help you navigate this transformative period with confidence.
Explore our comprehensive guide to facial treatments to gain deeper insights into aesthetic recovery processes. Begin by establishing a consistent documentation routine. Take clear, well-lit photographs of the treated areas at regular intervals, preferably in the same lighting and from consistent angles. These visual records will help you track subtle changes and provide valuable information during potential follow-up consultations.
According to NHS guidelines, certain symptoms require immediate professional attention. Understanding the difference between normal healing responses and potential complications is crucial. Pay close attention to the following indicators:
- Persistent or increasing pain
- Unusual skin discoloration
- Signs of infection (excessive redness, warmth)
- Asymmetrical swelling or lumps
- Sudden changes in skin texture
Timing is critical in your monitoring approach. The first week post-treatment demands the most vigilant observation. Create a structured tracking method, perhaps using a dedicated journal or digital note-taking app to record daily observations. Note the progression of swelling, bruising, and any sensations you experience. This systematic approach transforms your recovery into an informed, proactive process.
Your emotional state plays an equally important role in healing. Stress can potentially impact your recovery, so practice gentle self-care techniques like meditation, deep breathing, and adequate rest. Maintain open communication with your aesthetic professional, sharing your observations and any concerns promptly. Many practitioners offer follow-up consultations or digital check-ins specifically designed to support your recovery journey.
Remember that healing is not linear. Some days you might notice significant improvement, while others might seem slower. This variability is entirely normal. Trust in the expertise of your aesthetic professional and the resilience of your body.
Use this table to familiarise yourself with common post-filler symptoms, what may cause them, and suggested responses, so you know when professional help may be required.
| Symptom | Common Cause | Recommended Action |
|---|---|---|
| Mild swelling | Normal inflammatory response | Apply cool compress; monitor for reduction |
| Minor bruising | Small blood vessel trauma from injections | Use arnica cream/tablets; increase vitamin K intake |
| Temporary tenderness | Local injection effect | Gentle self-care; avoid pressure on area |
| Persistent or increasing pain | Possible complication/infection | Contact practitioner immediately |
| Unusual skin discolouration | Vascular compromise or excessive bruising | Seek urgent professional evaluation |
| Asymmetrical swelling/lumps | Product movement or uneven absorption | Inform practitioner; follow advice |
| Signs of infection (redness, warmth) | Potential bacterial entry at site | Seek immediate medical attention |
Take Control of Your Filler Recovery With Expert Care
Understanding how to recover after fillers can feel daunting, especially when you want reassurance and visible results. If you have ever worried about swelling, bruising, or the risk of making a post-treatment mistake, you are not alone. At Monaz Clinic, we see clients seeking not just aesthetic enhancements but guidance through every step of their healing journey. Our commitment to medically-led aftercare, personalised advice, and expert techniques means you never have to navigate these concerns alone. Find more actionable suggestions and insights in our tips section created just for women like you.
Your comfort, confidence, and beautiful results start here. Browse Monaz Clinic to discover how our Harley Street experts deliver natural-looking outcomes and comprehensive post-treatment support. If you are ready to experience a smoother recovery and feel truly understood, secure your complimentary consultation today. Take that first step towards feeling your best self, because your skin and happiness deserve nothing less.
Frequently Asked Questions
What should I do to prepare my skin before getting fillers?
Proper skin preparation includes increasing hydration by drinking water and using moisturising products, avoiding harsh exfoliants a week prior, and ensuring your skin is clean on the day of the treatment.
How can I manage swelling and bruising after filler injections?
To manage swelling and bruising, apply cool compresses to the treated areas and consider using arnica cream. Staying hydrated and consuming foods rich in vitamin K and bromelain can also help heal bruising.
What are the essential post-treatment care instructions I should follow?
Follow your practitioner’s aftercare instructions closely, which will likely include avoiding strenuous exercise, extreme temperatures, sun exposure, alcohol, and makeup for the first few days after treatment.
How can I monitor my healing process after receiving fillers?
Keep a record of your healing by taking daily photos of the treated areas. Pay attention to any unusual symptoms such as persistent pain, excessive redness, or signs of infection, and communicate any concerns to your aesthetic professional.

